Hills Security System User Manual: An Overview
This manual details the Hills Security System, covering setup, operation, and troubleshooting. It’s designed for fitness professionals and enthusiasts seeking optimal security solutions.
System Components
The Hills Security System comprises several key components working in harmony to provide comprehensive protection. These include the central control panel, serving as the system’s brain, and a variety of sensors – door/window contacts, motion detectors, and glass break sensors – strategically placed to detect intrusions.
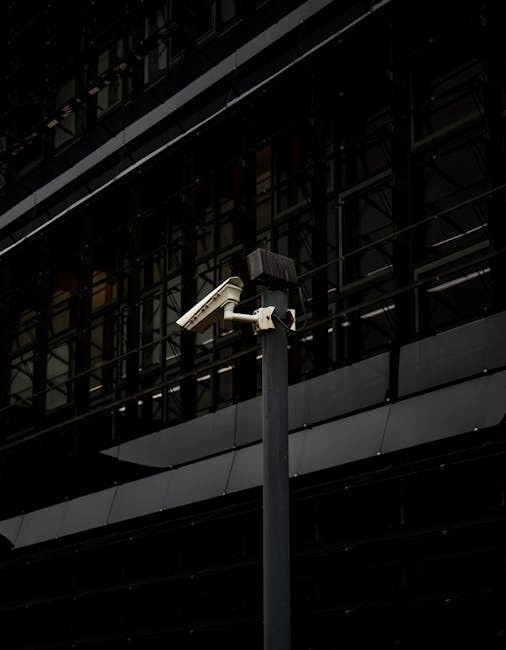
Wireless key fobs offer convenient arming and disarming, while indoor and outdoor sirens provide audible alerts. A backup battery ensures continued operation during power outages; Furthermore, the system integrates seamlessly with optional components like security cameras for visual verification and smart home devices for enhanced automation. Each component is designed for reliability and ease of use, contributing to a robust security infrastructure.

Understanding the Control Panel
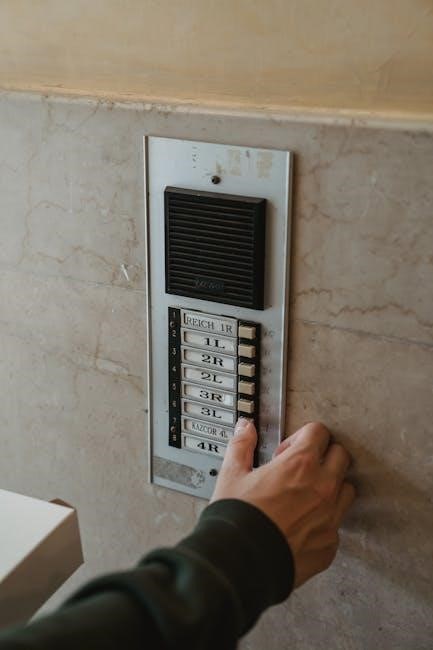
The Hills Security System’s control panel is the central hub for managing your security. It features a user-friendly interface with a keypad for entering access codes and a clear LCD screen displaying system status. Key functions include arming/disarming the system, viewing sensor activity, and accessing system logs.
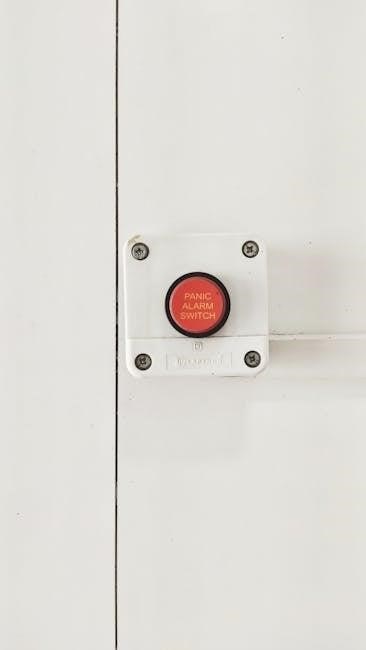
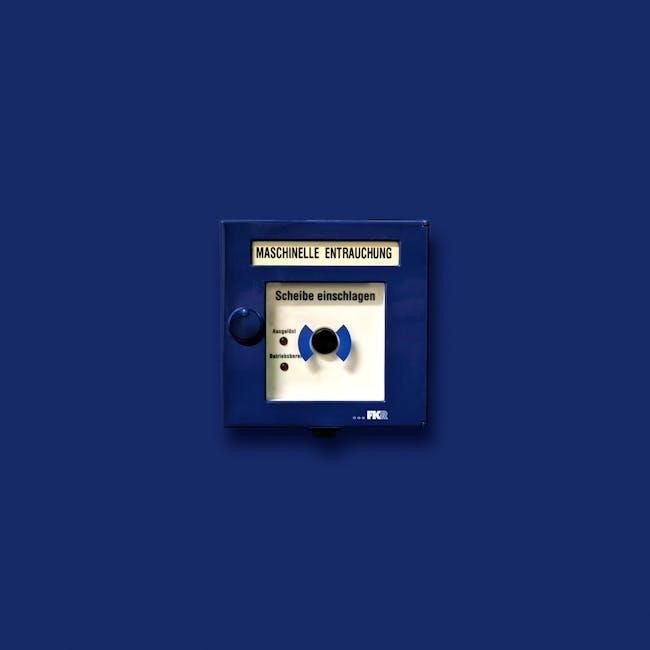
The panel also houses the communication module for connecting to monitoring services and sending alerts. A prominent “Panic” button allows for immediate emergency assistance. Understanding the various indicator lights – armed, disarmed, trouble, and communication status – is crucial for effective operation. Regular checks of the panel’s power source and battery backup are recommended to ensure continuous functionality.
Initial System Setup
Begin by connecting the control panel and sensors, then activate the system. Proper setup, like fitness training, requires attention to detail for optimal performance.
User Account Creation
Creating a user account is the first step to personalizing your Hills Security System experience. Access the system settings through the control panel or mobile app and select “Add User.” You’ll be prompted to enter a unique username and a strong, secure password – consider a combination of letters, numbers, and symbols.

Assign each user a specific access level: Owner, Manager, or Guest. Owners have full system control, Managers can modify settings and manage users, while Guests have limited access, perhaps only for disarming the system.
For enhanced security, enable two-factor authentication. This adds an extra layer of protection by requiring a verification code sent to your registered mobile device. Regularly review and update user accounts to maintain system integrity, much like updating fitness routines for continued progress.
Adding and Managing Devices
Expanding your Hills Security System is simple. From the control panel or mobile app, navigate to “Devices” and select “Add Device.” The system supports various sensors – door/window contacts, motion detectors, and glass break sensors – as well as smart home integrations. Follow the on-screen prompts to pair each device, ensuring it’s within range of the control panel.
Device management allows customization. Rename sensors for easy identification (e.g., “Front Door,” “Living Room Window”). Adjust sensitivity levels to minimize false alarms, similar to tailoring a workout to individual fitness levels.
Regularly check device status for connectivity and battery life; The system will alert you to any issues, ensuring optimal performance and reliable protection. Like maintaining fitness equipment, consistent monitoring is key.
Arming and Disarming the System
The Hills system offers multiple arming modes: Away, Stay, and Night. Use the control panel or mobile app to quickly arm or disarm, ensuring complete control.
Away Mode
Away Mode is activated when leaving your property unoccupied. This setting arms all sensors, including door, window, and motion detectors, providing comprehensive perimeter protection. Before activating, ensure all windows and doors are securely closed. The system will immediately trigger an alarm upon detecting any unauthorized entry while in Away Mode.
To arm in Away Mode, enter your user code on the control panel followed by the “Away” button, or select “Away Mode” within the mobile application. A confirmation beep and illuminated indicator light will confirm activation. Remember to allow a designated exit delay period to leave the premises safely. This mode prioritizes full security coverage during prolonged absences, offering peace of mind.
Stay Mode
Stay Mode provides security while occupants remain inside the property. This setting typically arms perimeter sensors – doors and windows – but bypasses interior motion detectors to allow free movement within the home. It’s ideal for nighttime or when someone is home alone. Before activating, confirm all doors and windows are closed and secured.
To arm in Stay Mode, enter your user code on the control panel and press the “Stay” button, or select “Stay Mode” via the mobile app. A distinct confirmation tone and indicator light will signal activation. An alarm will sound if a protected perimeter entry point is breached. Remember to adjust sensor sensitivity if pets are present to minimize false alarms during Stay Mode operation.
Night Mode
Night Mode is a specialized arming option designed for nighttime security while occupants are asleep. It combines features of Away and Stay modes, offering comprehensive protection. Typically, perimeter sensors (doors, windows) and strategically selected interior motion detectors are activated, while others are bypassed to allow movement in common areas like hallways.
To engage Night Mode, input your user code and select “Night Mode” on the control panel or mobile app. The system will confirm activation with a unique tone and indicator. Adjusting motion sensor sensitivity is crucial to avoid false alarms caused by pets or ambient movement. Regularly test Night Mode to ensure proper functionality and peace of mind during sleep.

Sensor Management
Effectively managing sensors—door, window, and motion—is vital for a reliable security system. Proper placement and testing ensure optimal performance and minimize false alarms.

Door and Window Sensors
Door and window sensors are fundamental components of your Hills Security System, providing the first line of defense against unauthorized entry. These sensors typically consist of two parts: a sensor and a magnet. When a door or window is closed, the magnet is in close proximity to the sensor, maintaining a closed circuit.
Upon opening the door or window, the magnet moves away, breaking the circuit and triggering an alarm signal to the control panel. Proper installation is crucial; ensure sensors and magnets are aligned correctly and securely mounted. Regularly test these sensors to confirm functionality. Replace batteries promptly when low-battery warnings appear. Consider sensor placement to avoid false alarms caused by pets or environmental factors.
The system supports both wireless and wired door/window sensors, offering flexibility during installation.
Motion Detectors
Motion detectors enhance your Hills Security System by detecting movement within a designated area. Utilizing passive infrared (PIR) technology, these sensors identify changes in heat signatures. When a warm body enters the sensor’s field of view, it triggers an alarm signal. Strategic placement is key – avoid direct sunlight, heat sources, and areas with high foot traffic to minimize false alarms.
Adjusting the sensitivity settings allows customization based on your environment. Higher sensitivity detects smaller movements, while lower sensitivity reduces false alarms. Regularly test motion detectors to ensure proper functionality. The system supports pet-immune motion detectors, designed to ignore smaller animals. Proper installation and configuration are vital for optimal performance. Consider the range and coverage area when selecting and positioning detectors.
Glass Break Sensors
Glass break sensors are crucial additions to your Hills Security System, providing an extra layer of protection against intrusion. These sensors detect the specific sound frequency created when glass shatters, triggering an immediate alarm. Unlike motion detectors, they react to the sound of a break-in, not the movement. Placement near windows and glass doors is essential for effective coverage.
Different types exist, including acoustic sensors that listen for the sound of breaking glass and shock sensors that detect the vibration. Regular testing is recommended to confirm functionality. Avoid placing sensors near noisy appliances or areas with frequent vibrations to prevent false alarms. The system allows for adjustable sensitivity settings to fine-tune detection. Proper installation ensures optimal performance and reliable protection against potential threats.
System Notifications and Alerts
The Hills Security System delivers real-time alerts via push notifications, SMS, and email. Stay informed about system events and potential security breaches promptly.
Push Notifications
Hills Security System’s push notifications offer instant alerts directly to your smartphone or tablet. These notifications require the Hills Security mobile app to be installed and properly configured on your device. You can customize notification preferences within the app, selecting which events trigger a push notification – such as sensor activations, alarm triggers, or system status changes.
Ensure your device’s notification settings are enabled for the Hills Security app to receive these timely updates. Push notifications are a crucial component of the system, providing immediate awareness of potential security concerns, even when you are away from home. They offer a quick and convenient way to stay connected to your security system and respond swiftly to any detected activity.
SMS Alerts
The Hills Security System provides SMS alerts as a backup notification method, ensuring you’re informed even with limited data connectivity. To activate SMS alerts, you must provide a valid mobile phone number within the system’s configuration settings, accessible through the control panel or mobile app. These text message notifications deliver critical information, such as alarm triggers or system tamper alerts, directly to your phone.
Please note that SMS alerts may incur standard messaging charges from your mobile carrier. Customize which events generate an SMS alert to manage notification frequency and costs. SMS alerts are particularly useful when push notifications are unavailable due to network issues, offering a reliable secondary layer of security awareness and peace of mind.
Email Notifications
The Hills Security System’s email notification feature delivers detailed reports and alerts directly to your inbox. Configure up to five email addresses within the system settings, accessible via the control panel or mobile application. Email notifications provide comprehensive information regarding system events, including alarm timestamps, sensor details, and user activity logs. This allows for a thorough review of security incidents and system performance.
Email alerts are ideal for receiving detailed summaries and historical data. Customize notification preferences to filter specific event types, reducing inbox clutter. Regularly check your spam or junk folder to ensure you receive all system-generated emails. Email notifications complement push and SMS alerts, providing a robust and versatile communication system for enhanced security monitoring.

Troubleshooting Common Issues
This section addresses frequent problems like false alarms, sensor connectivity, and control panel malfunctions. Effective solutions ensure optimal system performance and reliability.
False Alarms
Understanding and mitigating false alarms is crucial for maintaining the integrity of your Hills Security System. Frequent false alarms can lead to complacency and reduced responsiveness from monitoring services, potentially compromising your security. Common causes include improperly installed sensors, loose wiring, environmental factors like strong winds affecting door/window sensors, or even pets triggering motion detectors.
To reduce false alarms, ensure all sensors are securely mounted and correctly configured. Regularly test sensors to verify their functionality. Adjust sensitivity settings on motion detectors to minimize triggers from pets or external movements. Review recent alarm events in the system logs to identify patterns and potential causes. If false alarms persist, contact Hills Security support for assistance – a technician can diagnose and resolve underlying issues.
Sensor Connectivity Problems
Maintaining consistent sensor connectivity is vital for a reliable Hills Security System. If a sensor displays as “offline” or fails to report status, several factors could be at play. First, check the sensor’s battery level – low batteries are a frequent cause of connectivity loss. Ensure the sensor is within the wireless range of the control panel; obstructions like thick walls can interfere with the signal.
Next, verify that the sensor hasn’t been physically dislodged or tampered with. Attempt to re-pair the sensor with the control panel following the instructions in the ‘Adding and Managing Devices’ section. If the problem persists, interference from other wireless devices might be the issue. Contact Hills Security support for advanced troubleshooting or potential hardware replacement.
Control Panel Malfunctions
If your Hills Security System control panel experiences malfunctions, immediate attention is required. Common issues include a frozen screen, unresponsive buttons, or complete power loss. First, attempt a simple reboot by disconnecting and reconnecting the power supply. If the panel remains unresponsive, check the power outlet and ensure the transformer is securely connected.
For a frozen screen, try a soft reset using the recessed reset button (refer to ‘Understanding the Control Panel’ for location). If these steps fail, the system may require professional servicing. Do not attempt to open or repair the panel yourself, as this will void the warranty. Contact Hills Security support immediately, providing detailed information about the malfunction for efficient assistance.
Advanced System Features
Explore smart home integration, remote mobile app access, and detailed system logs for enhanced control and monitoring of your Hills Security System.
Smart Home Integration
Seamlessly connect your Hills Security System with popular smart home platforms like Google Assistant, Amazon Alexa, and Apple HomeKit. This integration allows for voice control of arming/disarming, and automation routines triggered by system events. For example, automatically turn on smart lights when a sensor is triggered, or adjust your thermostat when you arm the system in Away mode.
Configure customized scenes to manage multiple devices simultaneously. Enjoy enhanced convenience and a unified smart home experience. The Hills system supports IFTTT (If This Then That) for even greater customization possibilities, enabling connections with a wider range of smart devices and services. Ensure compatibility by checking the Hills website for a current list of supported platforms and devices.
Remote Access via Mobile App
The Hills Security System offers comprehensive remote control and monitoring through a dedicated mobile application, available for both iOS and Android devices. Access live video feeds from connected cameras, arm or disarm your system, and review event history from anywhere with an internet connection. Receive instant push notifications for alarms, sensor activity, and system status updates, keeping you informed in real-time.
Manage user access and permissions remotely, adding or removing users as needed. The app provides a user-friendly interface for easy navigation and control. Ensure your app is always updated to benefit from the latest features and security enhancements. Remote access requires a stable internet connection for both your system and your mobile device.
System Logs and History
The Hills Security System meticulously records a detailed history of all system events, accessible through the control panel and mobile application. This includes arming/disarming times, sensor activations, alarm triggers, and user access logs. Reviewing these logs is crucial for identifying patterns, troubleshooting issues, and verifying system performance. Data is stored securely, ensuring privacy and integrity.
Utilize the filtering options to quickly locate specific events based on date, time, sensor, or user. System logs provide valuable insights into potential security breaches or malfunctions. Regularly reviewing the history allows for proactive maintenance and optimization of your security setup. Export log data for further analysis or record-keeping purposes, if needed.